This guide is outdated, please use this one.
Today we want to optimize our Nextcloud installation with APCu in Plesk. This How To is tested with Plesk Onyx Version 17.8.11.
Requirements:
– Plesk Onyx
– root-access
Preparation:
First, we need to install the necessary dev packages for Plesk. Depending on the usage of the PHP versions it is necessary to install several dev packages. We install the dev packages for PHP versions 5.6, 7.0, 7.1, and 7.2:
apt install plesk-php56-dev plesk-php70-dev plesk-php71-dev plesk-php72-dev zlib1g-dev gcc
When the installation is done, we will install the corresponding APCu extension in the context of the individual PHP versions, please make sure that the version number 4.0.11 is used in PHP 5.6:
/opt/plesk/php/5.6/bin/pecl install apcu-4.0.11
/opt/plesk/php/7.0/bin/pecl install apcu
/opt/plesk/php/7.1/bin/pecl install apcu
/opt/plesk/php/7.2/bin/pecl install apcu
Now we have to tell Plesk the new PHP extension:
echo "extension=apcu.so" > /opt/plesk/php/5.6/etc/php.d/apcu.ini
echo "extension=apcu.so" > /opt/plesk/php/7.0/etc/php.d/apcu.ini
echo "extension=apcu.so" > /opt/plesk/php/7.1/etc/php.d/apcu.ini
echo "extension=apcu.so" > /opt/plesk/php/7.2/etc/php.d/apcu.ini
and we have to reread PHP-Handler:
plesk bin php_handler --reread
then restart php-fpm one by one:
service plesk-php56-fpm restart
service plesk-php70-fpm restart
service plesk-php71-fpm restart
service plesk-php72-fpm restart
If the following error message is displayed when restarting an FPM service:
Job for plesk-php56-fpm.service failed because the control process exited with error code. See "systemctl status plesk-php56-fpm.service" and "journalctl -xe" for details.
and there is no vHost using this version, this can be ignored.
Check:
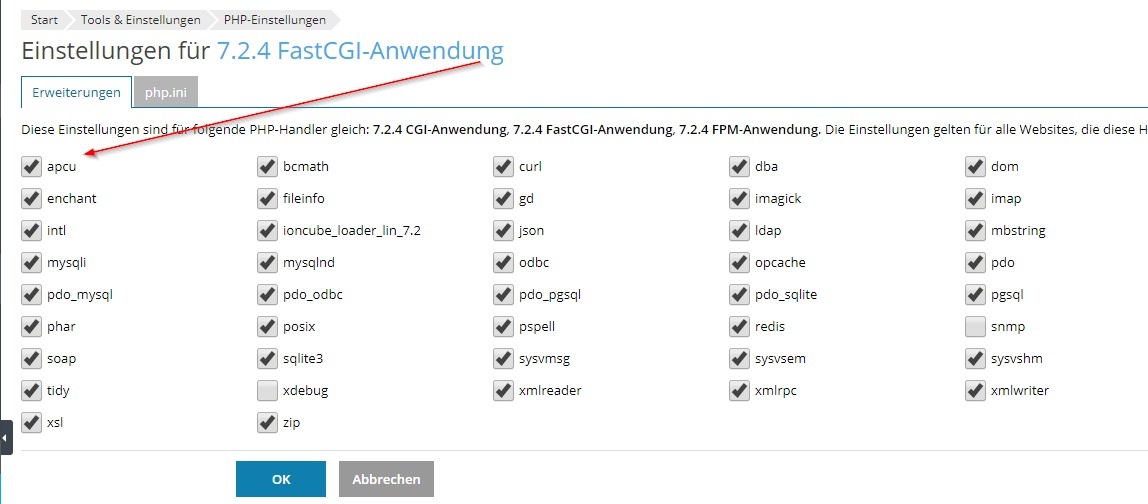
Within Plesk in „Tools & Settings“ -> „PHP Settings“, the APCu extension should now be available when selecting a PHP version:

Customization Nextcloud-vHost in Plesk
In the corresponding vHost we adjust the PHP settings and enter the following values under „Additional configuration directives“:
apc.enabled=1
apc.shm_segments=1
apc.shm_size=256M
apc.ttl=3600
apc.user_ttl=7200
apc.gc_ttl=3600
apc.max_file_size=6M
apc.stat=0
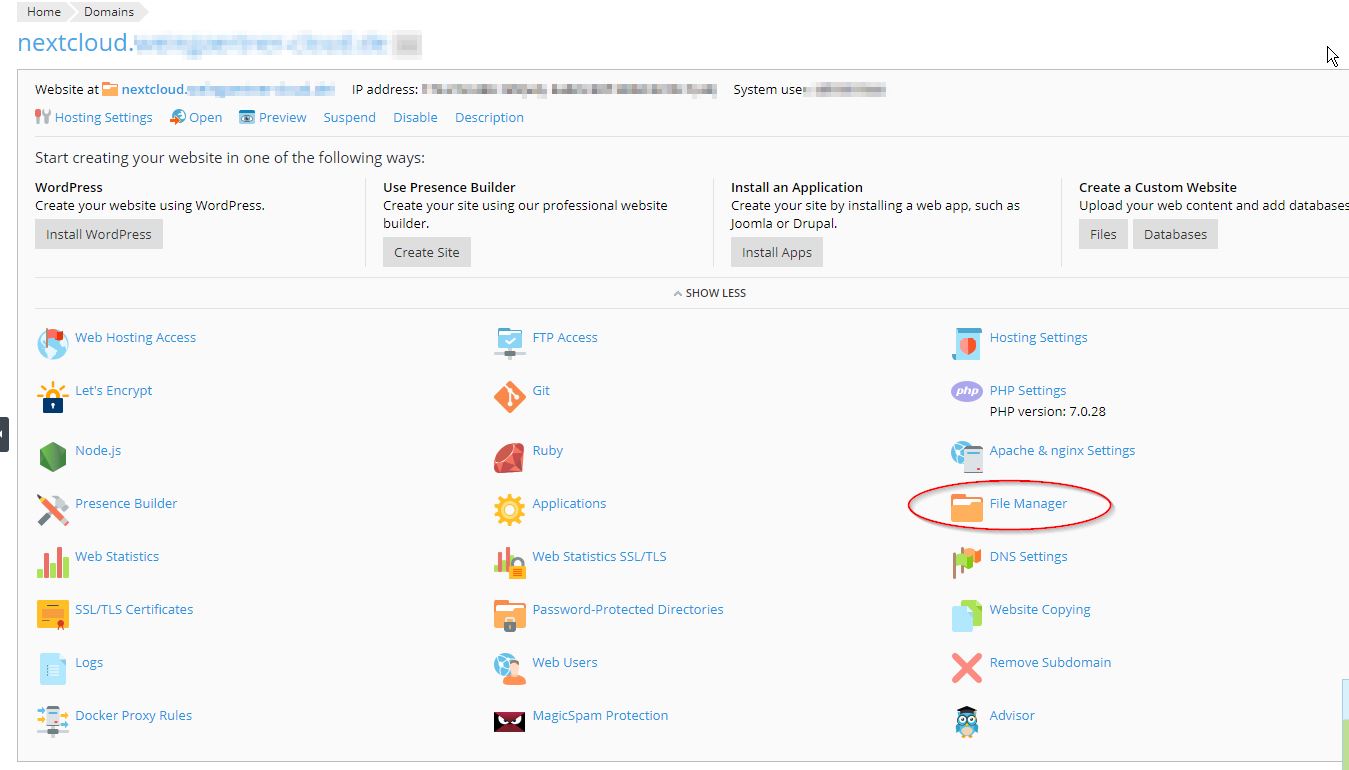
Now we have to tell Nextcloud to work with the APCu Object Cache. We adapt the file „config.php“ in File Manager:

Here we adjust the values „memcache.distributed“ and „memcache.local“ as follows:
'memcache.distributed' => '\\OC\\Memcache\\APCu',
  'memcache.local' => '\\OC\\Memcache\\APCu',
Check:
We can verify the success with a php script that we have to load in our webspace
We can download the script apc.php here.
We have to upload this script in our vHost via the File Manager.
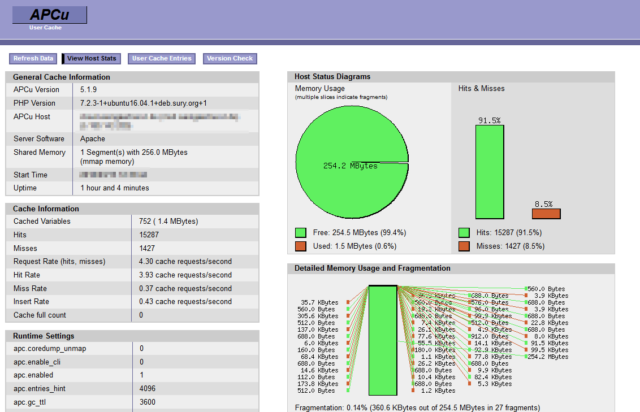
Then call the script in our domain via our browser, call https://nextcloud.deine-domain.tld/apc.php:

If we want to look at the „User Cache Entries“, we have to replace the default password in the script „apc.php“:
In the script „apc.php“ we have to find this line and adjust accordingly:
defaults('ADMIN_PASSWORD','password'); // Admin Password - CHANGE THIS TO ENABLE!!!
That’s it and have fun… 🙂
