
Changes 09.05.2019
– Add links to webdeasy.de-Guides „Install Nextcloud with Beta-Extension „Nextcloud“
———————————————–
Changes 25.03.2019
– Add screenshot for finding out Plesk-User
– Add link to Redis to clarify
– Add link to Nextcloud-Background-Job-Manual
– Add instructions to adjust nginxClientMaxBodySize
———————————————–
Changes 23.03.2019
– Add Screenshot for memcache-block in config.php to clarify
– Adjust entry for crontab
In this Howto I will show you to install Nextcloud 15 on a Plesk VPS with nginx only
If you want to install Nextcloud via the Extension „Nextcloud“ (Beta-State) then follow this guides:
webdeasy English-Version
or
webdeasy German Version
Then come back and switch to nginx-only.
Nextcloud recommends the use of a MemoryCache. If we have ssh-access to our server, we install redis for this. Redis is an in-memory database with a simple key-value data structure and belongs to the family of NoSQL databases.
If you want to know more, follow this link.
The following command installs the appropriate package:
sudo apt-get install redis-server
please check the status of redis:
sudo systemctl status redis
Output:

Prepare vHost:
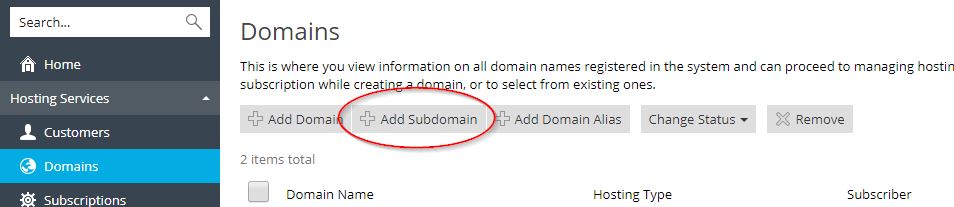
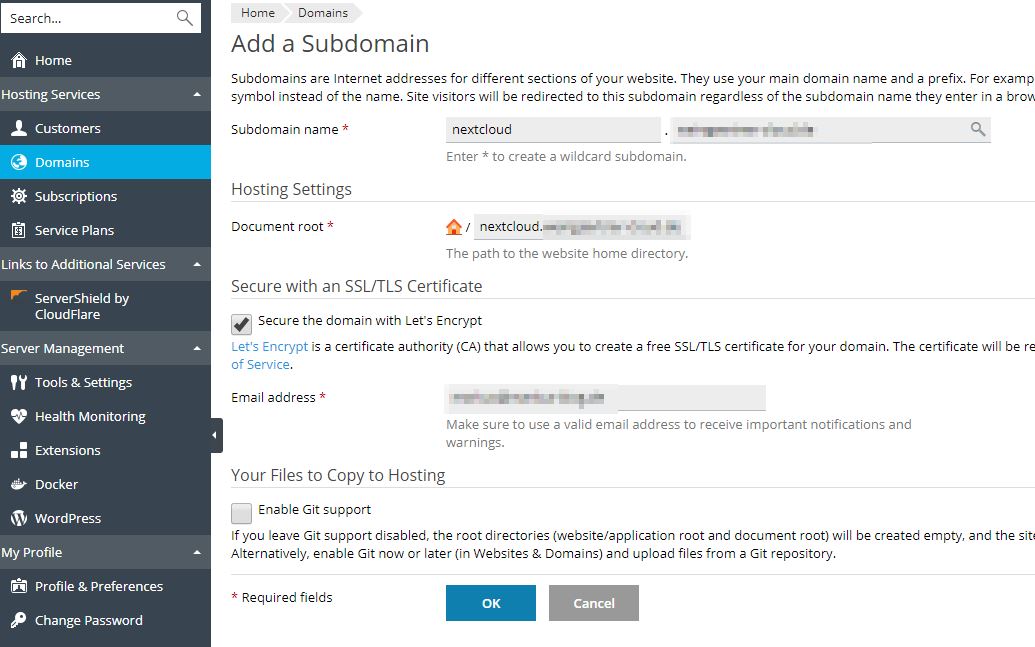
In Plesk we create the subdomain under domains:
and secure it with LetsEncrypt:
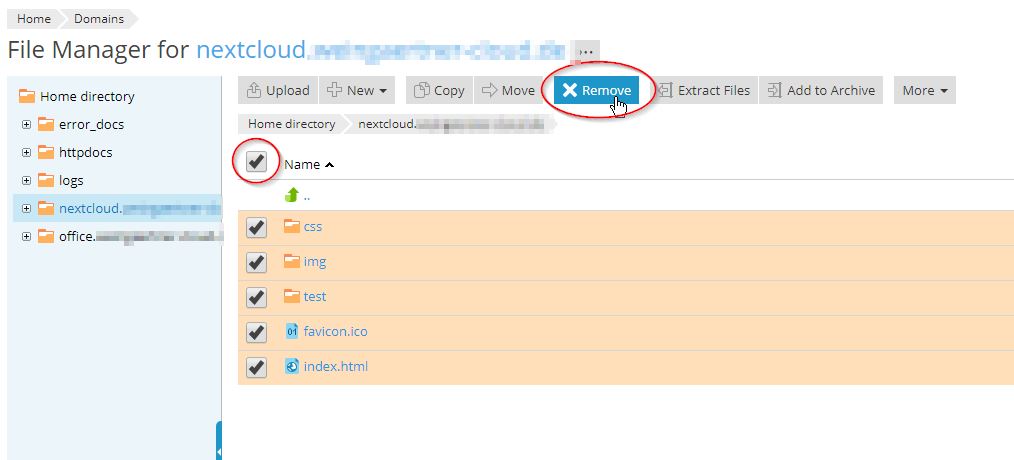
Within the subdomain we use the file manager:
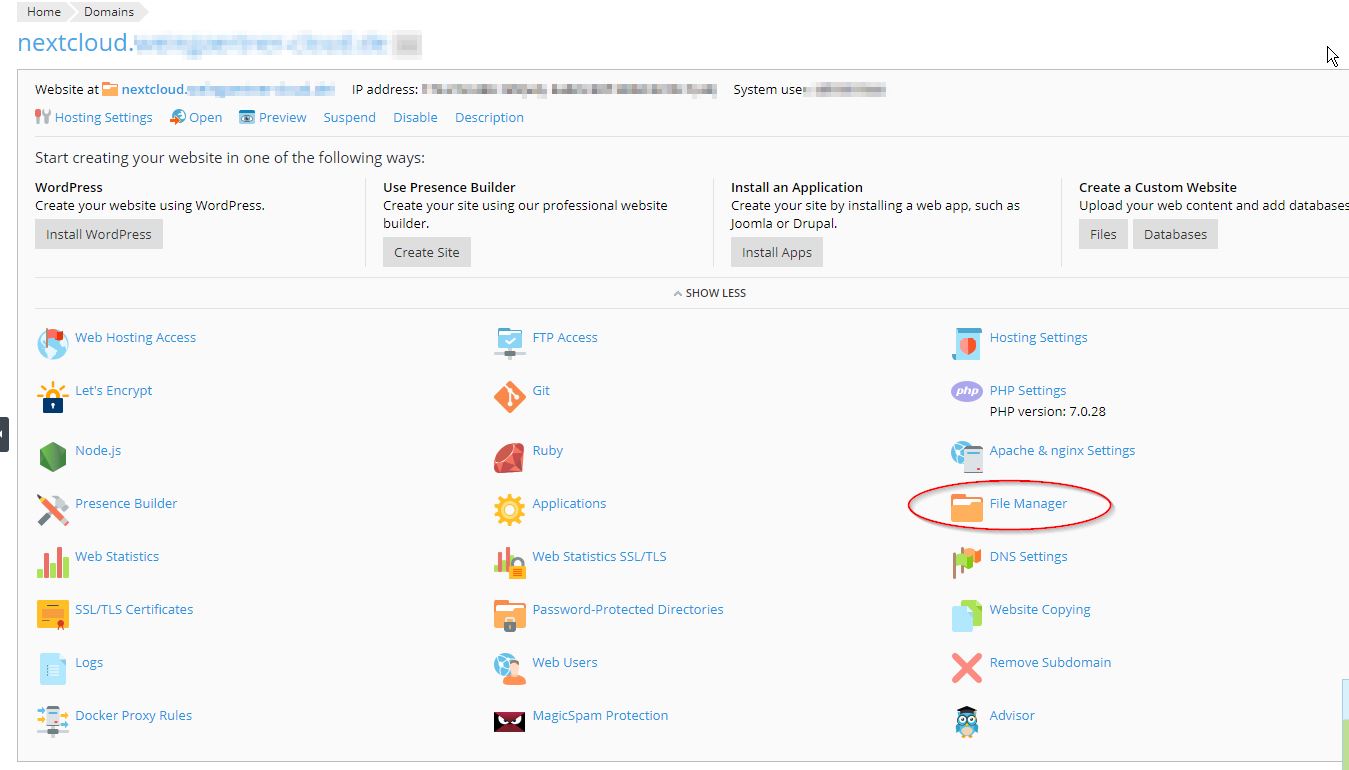
and remove all files and directories:
Now we have to download the Nextcloud-Webinstaller from the following URL to our workstation:
Afterwards we upload it to our Webspace in Plesk:

In Apache/NGINX settings of the subdomain, we set the following values for Additional nginx directives (Customize Domain / Subdomain):
rewrite ^/.well-known/host-meta /public.php?service=host-meta last;
rewrite ^/.well-known/host-meta.json /public.php?service=host-meta-json last;
rewrite ^/.well-known/webfinger /public.php?service=webfinger last;
add_header Strict-Transport-Security "max-age=15768000; includeSubDomains; preload;";

location = /.well-known/carddav {
	return 301 $scheme://$host/remote.php/dav;
}

location = /.well-known/caldav {
	return 301 $scheme://$host/remote.php/dav;
}

location = /robots.txt {
	allow all;
	log_not_found off;
	access_log off;
}

# Enable gzip but do not remove ETag headers

gzip on;
gzip_vary on;
gzip_comp_level 4;
gzip_min_length 256;
gzip_proxied expired no-cache no-store private no_last_modified no_etag auth;
gzip_types application/atom+xml application/javascript application/json application/ld+json application/manifest+json application/rss+xml application/vnd.geo+json application/vnd.ms-fontobject application/x-font-ttf application/x-web-app-manifest+json application/xhtml+xml application/xml font/opentype image/bmp image/svg+xml image/x-icon text/cache-manifest text/css text/plain text/vcard text/vnd.rim.location.xloc text/vtt text/x-component text/x-cross-domain-policy;

location ~ ^\/(?:build|tests|config|lib|3rdparty|templates|data)\/ {
	deny all;
}

location ~ ^\/(?:\.|autotest|occ|issue|indie|db_|console) {
	deny all;
}

location ~ ^\/(?:updater|ocs-provider)(?:$|\/) {
	try_files $uri/ =404;
	index index.php;
}

# Adding the cache control header for js and css files

location ~ \.(?:css|js|woff2?|svg|gif)$ {
	try_files $uri /index.php$request_uri;
	add_header Cache-Control "public, max-age=15778463";
	add_header X-Content-Type-Options nosniff;
	add_header X-XSS-Protection "1; mode=block";
	add_header X-Robots-Tag none;
	add_header X-Download-Options noopen;
	add_header X-Permitted-Cross-Domain-Policies none;
	add_header Referrer-Policy no-referrer;
}

location ~ \.(?:png|html|ttf|ico|jpg|jpeg)$ {
	try_files $uri /index.php$request_uri;
}
NGINX-Settings:

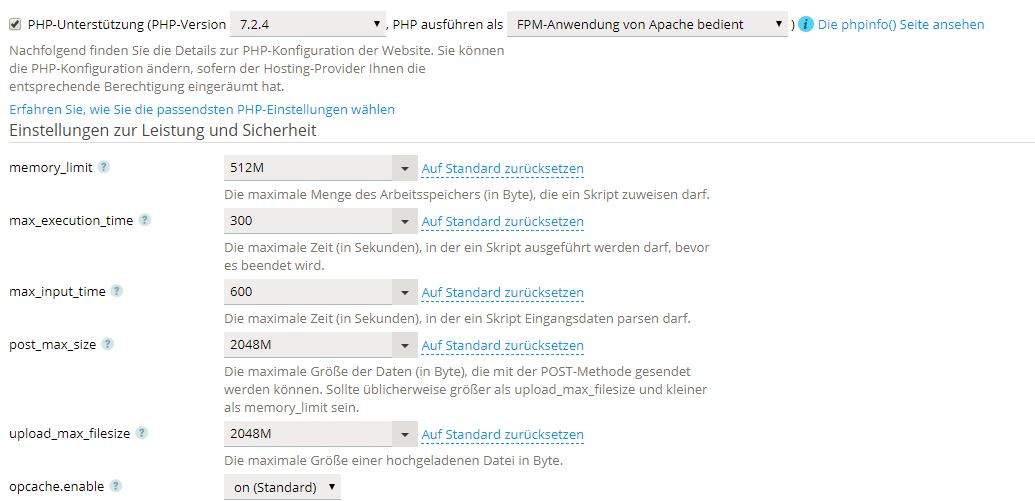
In PHP settings we set the version to 7.2.x or 7.3.x and enter the following value under OPEN-Base-Dir:
{WEBSPACEROOT}{/}{:}{TMP}{/}:/dev/urandom:/proc/meminfo
in section disable_functions you have to delete opcache_get_status and insert none.

Don’t forget to adjust the upload_max_filesize and post_max_size values.
as example we can use the following values if you want to upload files not greater than 2 GB:
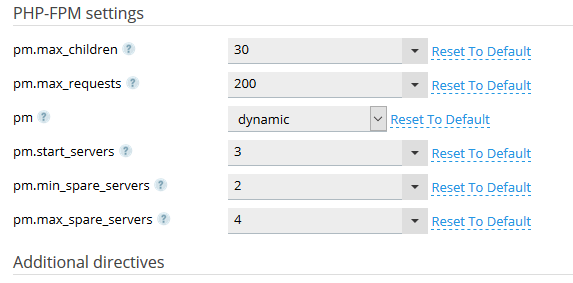
Then set pm to dynamic and adjust, as example:
At the bottom of the page under Additional configuration instructions, we set following parameters:
opcache.enable_cli=1
opcache.interned_strings_buffer=8
opcache.max_accelerated_files=10000
opcache.memory_consumption=128
opcache.save_comments=1
opcache.revalidate_freq=1

[php-fpm-pool-settings]
env[PATH] = /usr/local/bin:/usr/bin:/bin
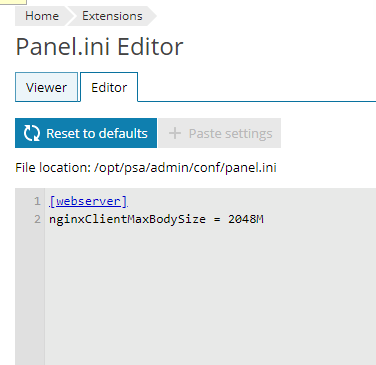
To allow uploading large files, we have to adjust the nginxClientMaxBodySize in panel.ini of Plesk:
We can do this in two ways, the easiest way is to edit the file with nano:
sudo nano /opt/psa/admin/conf/panel.ini
and we add the following content:
[webserver]
nginxClientMaxBodySize = 2048M
or you can install the „Panel.ini Editor“-Extension of Plesk and edit the file in Plesk:
Do not to forget to save this file.
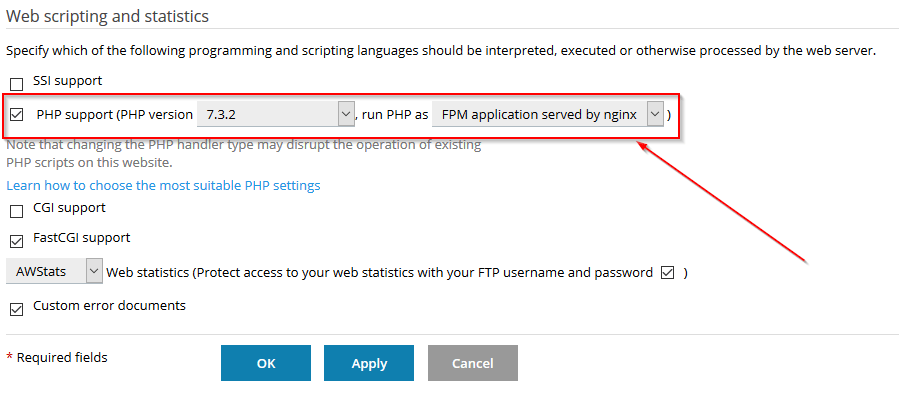
Among the hosting settings, we have to set the 301 redirect (http to https) and run php set to FPM Application served by nginx:
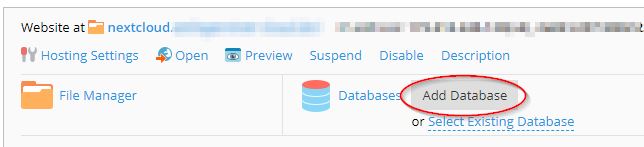
Prepare Database
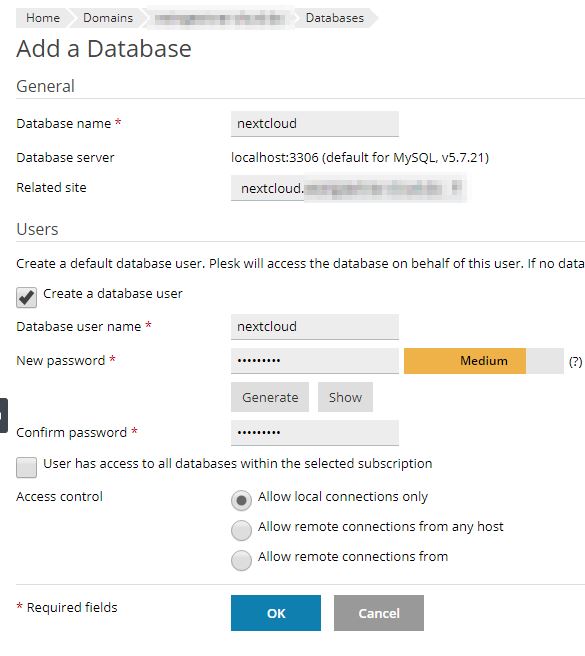
Add a database within the subdomain:
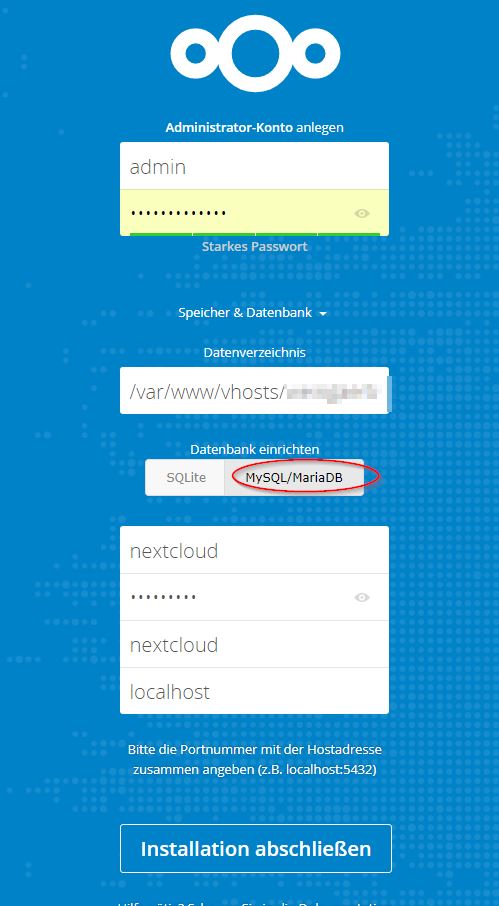
and accept or adjust the following settings and write them down for later use:
Finish the installation
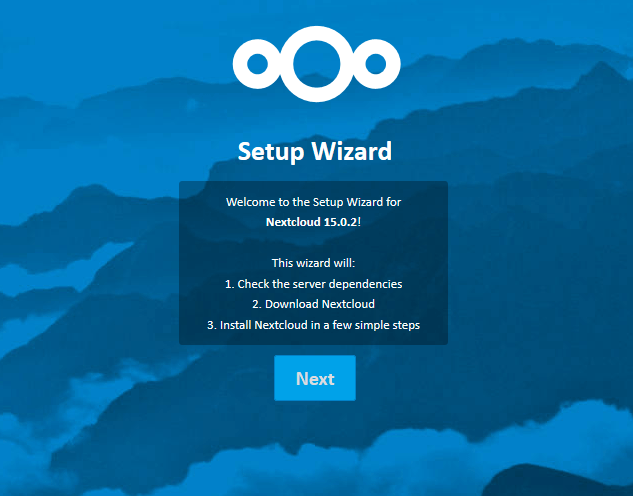
Via the web browser, we call our Nextcloud-Webinstaller and complete the Installation now:
https://nextcloud.your-domain.tld/setup-nextcloud.php
In the next step, we enter a single „.“ into the field:
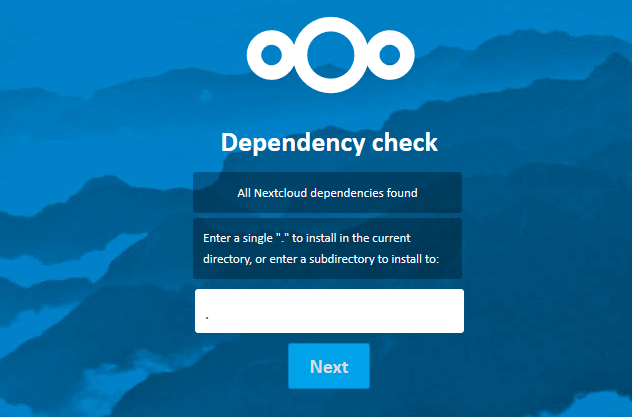
And after another click on „Next“, we should see the success of the installation:

The next step is to adjust the settings:
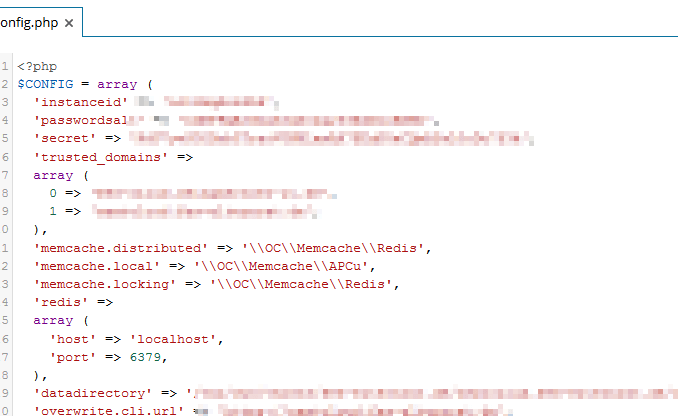
If we are logged in, we have to edit the config.php in config directory in Plesk via File Manager and insert the following block for the cache behind the „Trusted Domains-Array“ (if redis is installed):
'memcache.distributed' => '\\OC\\Memcache\\Redis',
'memcache.local' => '\OC\Memcache\\Redis',
'memcache.locking' => '\\OC\\Memcache\\Redis',
'redis' => array(
'host' => 'localhost',
'port' => 6379,
),
it should look like this:
If we have ssh-access (as root or Plesk-User), then we can create a CRON job (adjust user) for Nextcloud-Background-Jobs:
you can find the user in the domain view of plesk:
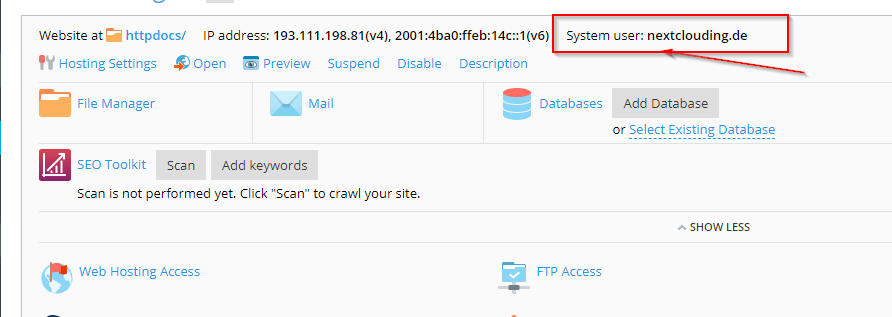
as example with my User as root:
sudo crontab -u nextclouding.de -e
if you have ssh-Access as Plesk-User „nextclouding.de“ than:
crontab -e
and enter the following lines (customize domain and subdomain):
for php7.2:
SHELL="/bin/sh"
*/15    *       *       *       *       /opt/plesk/php/7.2/bin/php -f 'nextcloud.your-domain.tld/cron.php' > /dev/null
for php7.3:
SHELL="/bin/sh"
*/15    *       *       *       *       /opt/plesk/php/7.3/bin/php -f 'nextcloud.your-domain.tld/cron.php' > /dev/null
Sometimes it is also possible to add a task via the GUI:
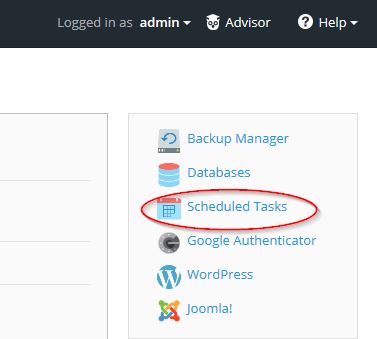
Otherwise, we use an external WebCron service, for example EasyCron.
The URL that needs to be called is:
https://nextcloud.domain.tld/nextcloud/cron.php
Among the basic settings, we check Nextcloud for errors and subsequently also in Plesk in the subdomain under logs.
you should see a warning for bigint indentifiers
because of this you have to execute the following command in your shell:
sudo -u admin php /var/www/vhosts/your-domain.tld/nextcloud.your-domain.tld/occ db:convert-filecache-bigint
After this errors or warnings should no longer be displayed.
If you have problems or questions, suggestions, don’t hesitate to contact me.
See you and happy Nextclouding 🙂