Today I want to show you how to install Fulltextsearch with OCR in Nextcloud 13 or 14 with Elasticsearch and Tesseract OCR. This guide also works with Plesk Onyx.
Prerequisites:
– an Ubuntu VPS with running Nextcloud-Instance
– root-access
the following Apps must be installed and activated in Nextcloud:
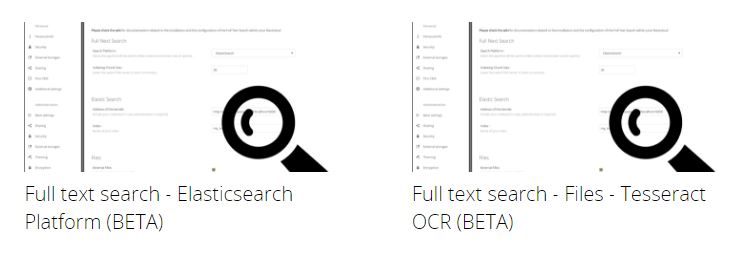
– Full text search – Bookmarks (BETA)
– Full text search – Elasticsearch Platform (BETA)
– Full text search – Files – Tesseract OCR (BETA)
– Full text search – Files (BETA)
– Full text search (BETA)
Step 1: Install Elasticsearch
We have to install Java:
sudo apt-get install openjdk-8-jre
and we add the elasticsearch repository:
sudo apt install apt-transport-https
wget -qO - https://artifacts.elastic.co/GPG-KEY-elasticsearch | sudo apt-key add -
echo "deb https://artifacts.elastic.co/packages/6.x/apt stable main" | sudo tee -a /etc/apt/sources.list.d/elasticsearch.list
sudo apt update
now we can install elasticsearch:
sudo apt install elasticsearch
for security reasons, we bind elasticsearch to 127.0.0.1;
sudo nano /etc/elasticsearch/elasticsearch.yml
add or adjust the following line:
network.host: 127.0.0.1
and enable the service:
sudo systemctl daemon-reload && sudo systemctl enable elasticsearch && sudo systemctl start elasticsearch
check if elasticsearch is running:
curl -XGET '127.0.0.1:9200/?pretty'
and install the „ingest-attachment“-Plugin (required for PDF, PPT, XLS etc.)
sudo /usr/share/elasticsearch/bin/elasticsearch-plugin install ingest-attachment
now restart elasticsearch and we are ready with this step:
sudo systemctl restart elasticsearch
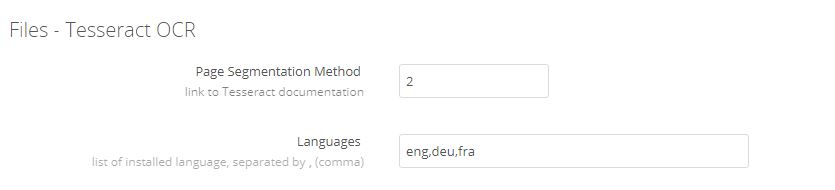
Step 2: Install Tesseract OCR
we can install Tesseract OCR with the following command:
sudo apt install tesseract-ocr
now we have to install additional languages (in this example English, German and French):
sudo apt install tesseract-ocr-eng tesseract-ocr-deu tesseract-ocr-fra
if you want install all languages, the following command is with you:
sudo apt install tesseract-ocr-all
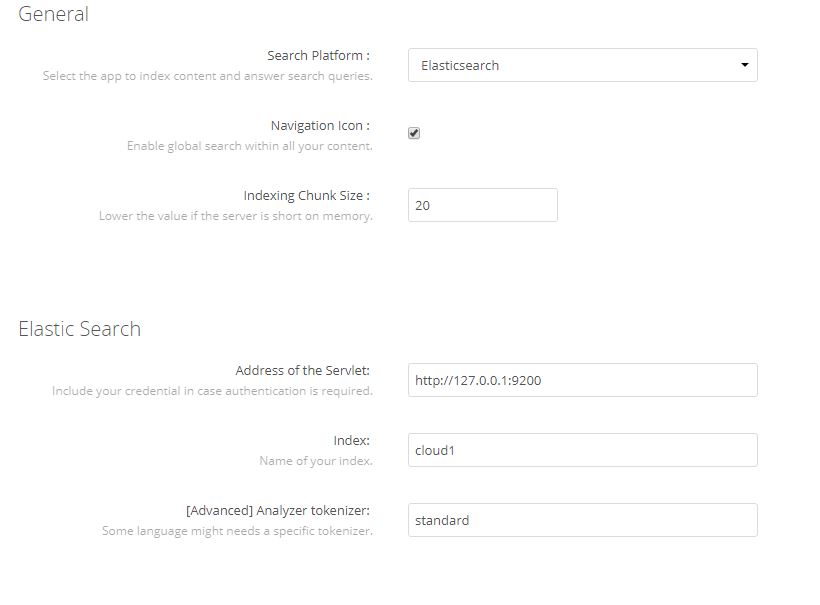
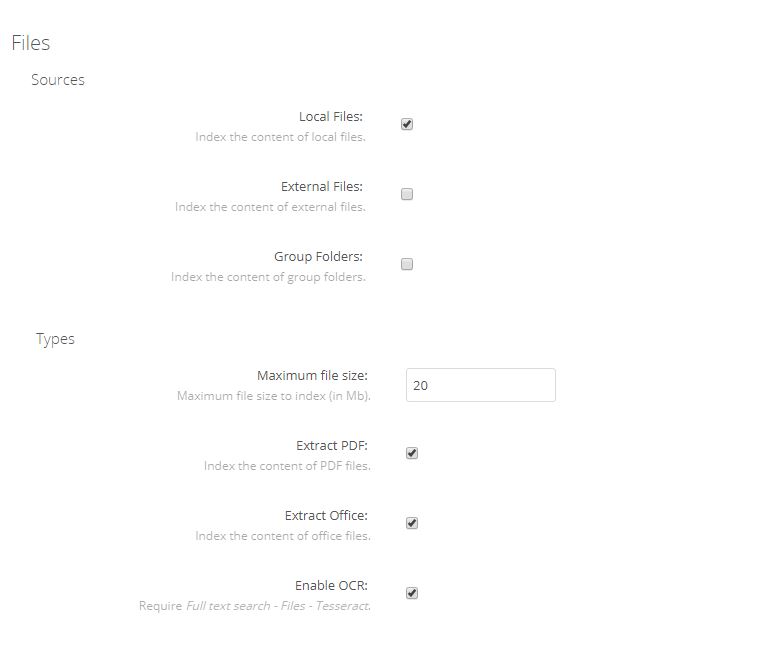
Step 3: Configure Nextcloud
Under „Administration -> Full text search“ we adjust the following settings:
Step 4: Create index
to create the index we have to run the following command in our nextcloud-directory:
sudo -u www-data php ./occ fulltextsearch:index
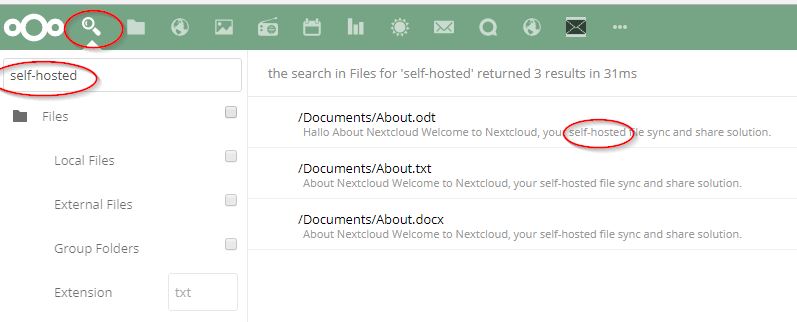
the first run will take some time, but if finished you can fulltextsearching…
That’s it, have fun and share!