In this Howto I will show you how to deploy Rocket.Chat within plesk with docker
If you want to know more about Rocket.Chat, follow this link.
Prepare vHost:
First of all, we have to create a vHost in plesk, I will use chat.mastodontech.de in this example, you have to use your own domain or subdomain.

and secure it with LetsEncrypt:

Within the subdomain we use the file manager:
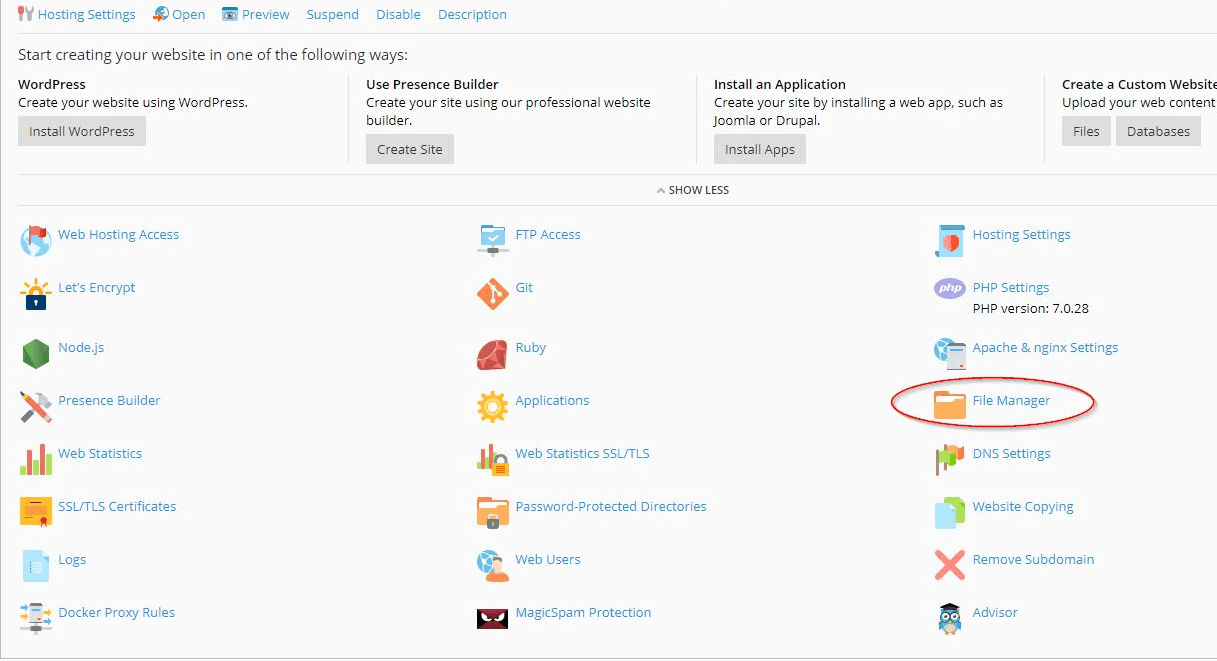
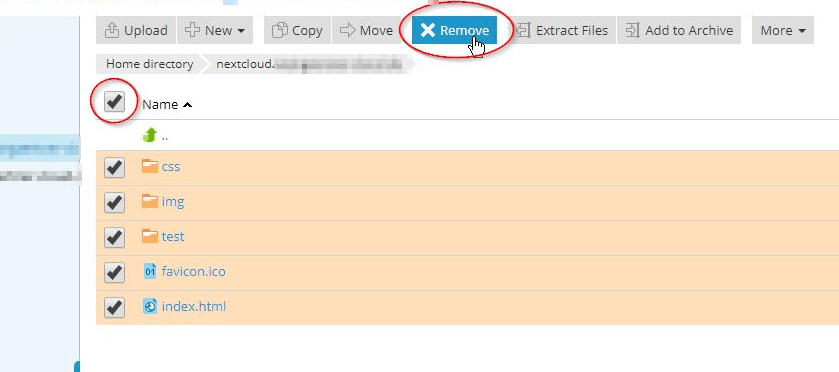
and remove all files and directories:
Now we config the Apache & nginx Settings for the domain.
Disable the Proxy Mode and Apply the settings.
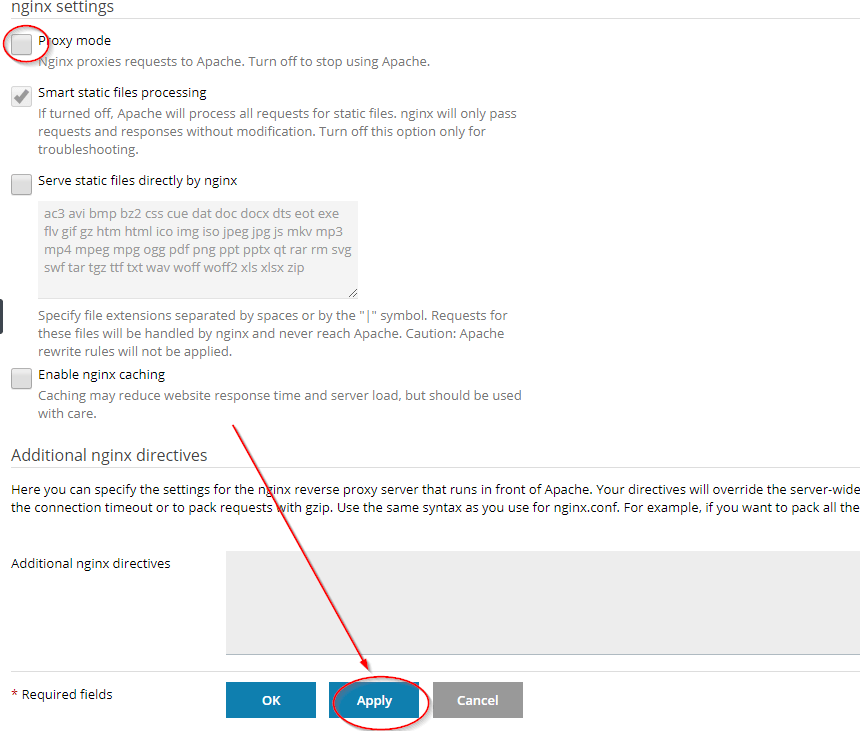
After you applied the settings add the following block in Additional nginx directives (adjust your domain):
location / {
            proxy_pass http://127.0.0.1:3000/;
            proxy_http_version 1.1;
            proxy_set_header Upgrade $http_upgrade;
            proxy_set_header Connection "upgrade";
            proxy_set_header Host $http_host;
            proxy_set_header X-Real-IP $remote_addr;
            proxy_set_header X-Forwarded-For $proxy_add_x_forwarded_for;
            proxy_set_header X-Forwarded-Proto https;
            proxy_set_header X-Nginx-Proxy true;
            proxy_redirect off;
        }
And save with OK
Prepare Rocket.Chat:
For this step, we have to connect to our server with ssh.
If you do not have installed docker-compose yet, install it now:
curl -L "https://github.com/docker/compose/releases/download/1.24.0/docker-compose-Linux-x86_64" -o /usr/local/bin/docker-compose
and make it executable:
chmod +x /usr/local/bin/docker-compose
Next you have to edit your hosts-file:
nano /etc/hosts
and add your domain below the line with localhost:
127.0.0.1 localhost.localdomain localhost
127.0.0.1 chat.mastodontech.de chat
and save.
Then change the directory to your vHost (adjust your domain/subdomain):
cd /var/www/vhosts/mastodontech.de/chat.mastodontech.de
and create the following directories:
mkdir -p /var/www/vhosts/mastodontech.de/chat.mastodontech.de/data/runtime/db
mkdir -p /var/www/vhosts/mastodontech.de/chat.mastodontech.de/data/dump
now create a docker-compose.yml file:
nano docker-compose.yml
and add the following content:
version: '2'

services:
  rocketchat:
    image: rocketchat/rocket.chat:latest
    command: >
      bash -c
        "for i in `seq 1 30`; do
          node main.js &&
          s=$$? && break || s=$$?;
          echo \"Tried $$i times. Waiting 5 secs...\";
          sleep 5;
        done; (exit $$s)"
    restart: always
    volumes:
      - ./uploads:/app/uploads
    environment:
      - PORT=3000
      - ROOT_URL=http://chat.mastodontech.de # adjust your domain here
      - MONGO_URL=mongodb://mongo:27017/rocketchat
      - MONGO_OPLOG_URL=mongodb://mongo:27017/local
      - Accounts_UseDNSDomainCheck=false
    depends_on:
      - mongo
    ports:
      - 127.0.0.1:3000:3000

  mongo:
    image: mongo:4.0
    restart: always
    volumes:
     - ./data/db:/data/db
     - ./data/dump:/dump
    command: mongod --smallfiles --oplogSize 128 --replSet rs0 --storageEngine=mmapv1
    labels:
      - "traefik.enable=false"
    ports:
      - 127.0.0.1:27017:27017

  # this container's job is just run the command to initialize the replica set.
  # it will run the command and remove himself (it will not stay running)
  mongo-init-replica:
    image: mongo:4.0
    command: >
      bash -c
        "for i in `seq 1 30`; do
          mongo mongo/rocketchat --eval \"
            rs.initiate({
              _id: 'rs0',
              members: [ { _id: 0, host: '127.0.0.1:27017' } ]})\" &&
          s=$$? && break || s=$$?;
          echo \"Tried $$i times. Waiting 5 secs...\";
          sleep 5;
        done; (exit $$s)"
    depends_on:
      - mongo
save file and use docker-compose to bring up the container.
docker-compose up -d
We should correct the permissions of files and directories, the fastest way is to use plesk repair command:
plesk repair fs -v
then check if containers are running with:
docker ps
Round about a minute your containers up and running and the Setup-Wizard should appear in your webbrowser (you have to open it by yourself):
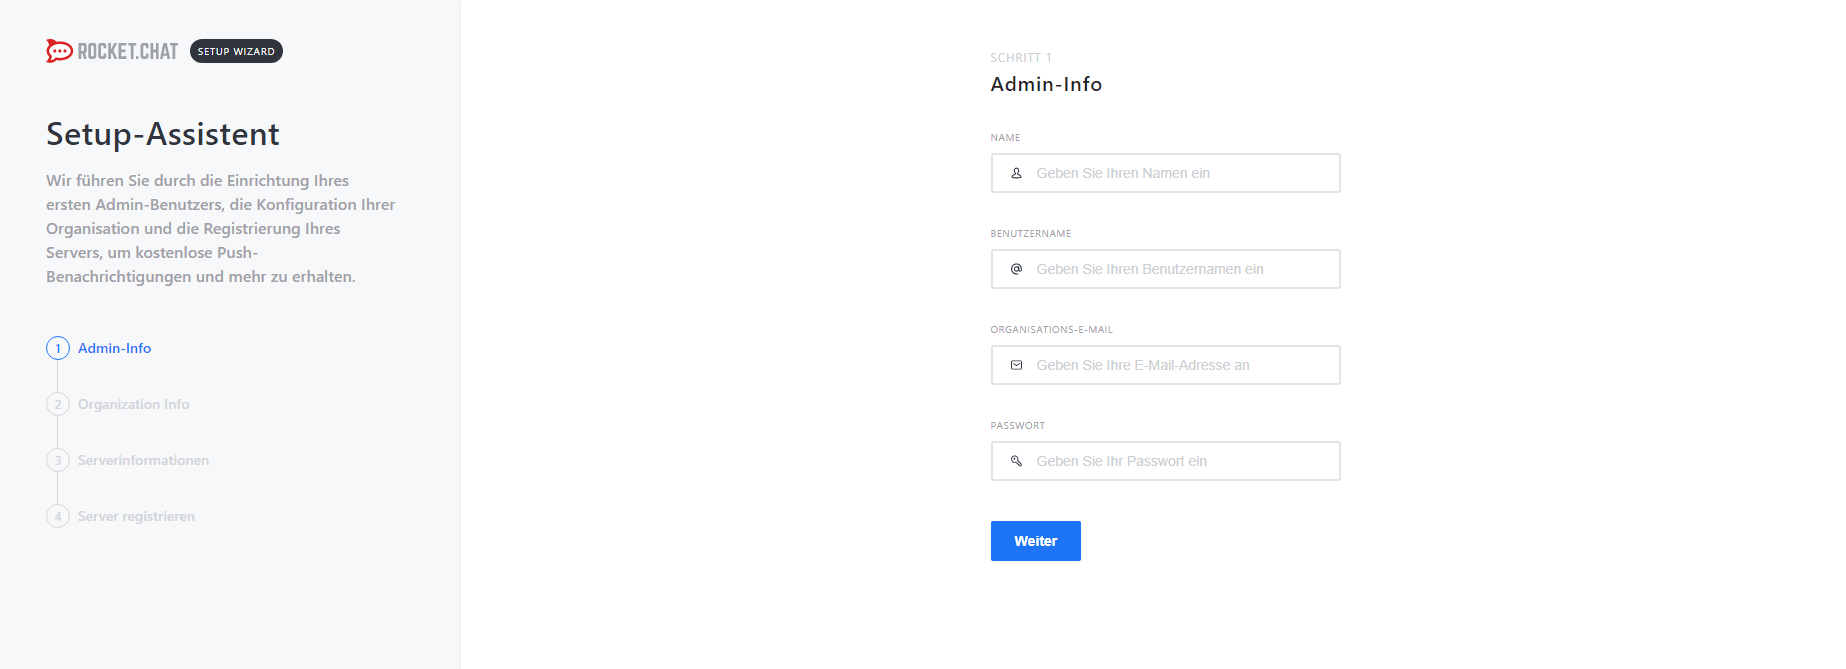
Add your admin-user here and finish the wizard.
The Documentation for Rocket.Chat is here.
To integrate your Nextcloud, look here
Have Fun and Happy Nextclouding with Rocket.Chat. 🙂