How to securely deploy minio S3 Object Storage with docker behind Apache2 on Ubuntu
Today, we want to deploy our own S3 Object Storage with minio behind an Apache2 https proxy via Docker. This howto works with both Ubuntu 16.04 and 18.04.
Requirements:
– one Ubuntu VPS
– LAMP stack installed
– Apache2 Reverse Proxy Modules activated
– Docker installed
– certbot installed
– DNS-A record for Apache2-vHost
If requirements are missing please use this:
LAMP stack:
sudo apt-get install lamp-server^
Apache2 reverse proxy module:
sudo a2enmod proxy
sudo a2enmod proxy_http
sudo a2enmod proxy_ajp
sudo a2enmod rewrite
sudo a2enmod deflate
sudo a2enmod headers
sudo a2enmod proxy_balancer
sudo a2enmod proxy_connect
sudo a2enmod proxy_html
Docker:
Version from official Ubuntu Repository:
sudo apt-get install docker.io
sudo systemctl start docker
sudo systemctl enable docker
or directly from Docker:
sudo curl -sSL https://get.docker.com/ | CHANNEL=stable sh
sudo systemctl enable docker.service
sudo systemctl start docker.service
Certbot:
sudo apt-get update
sudo apt-get install software-properties-common
sudo add-apt-repository ppa:certbot/certbot
sudo apt-get update
sudo apt-get install python-certbot-apache
when finished, we can continue with Step 1.
Step 1: Create Apache2 vHost
As a first step we create the Apache-vHost as reverse proxy:
sudo nano /etc/apache2/sites-available/005-minio.conf
add the following content:
<VirtualHost *:80>

ServerName s3.your-domain.tld

</VirtualHost>
save file, activate site and restart Apache2:
sudo a2ensite 005-minio.conf
sudo systemctl restart apache2
we can now generate a certificate via certbot:
sudo certbot --apache
select the corresponding vHost and select „2“ for „redirect“ at the end.
Then we edit the created configuration again:
sudo nano /etc/apache2/sites-available/005-minio-le-ssl.conf
and add the following content between the VirtualHost block:
# Proxy to minio
ProxyPreserveHost On
ProxyPass / http://0.0.0.0:32768/
ProxyPassReverse / http://0.0.0.0:32768/
RequestHeader set X-Forwarded-Proto "https"
ProxyVia Block

<Proxy *>
Require all granted
</Proxy>

# SSL Configuration - uses strong cipher list - these might need to be downgraded if you need to support older browsers/devices
SSLEngine on
SSLCipherSuite EECDH+AESGCM:EDH+AESGCM:AES256+EECDH:AES256+EDH
SSLProtocol All -SSLv2 -SSLv3 -TLSv1 -TLSv1.1
SSLHonorCipherOrder On

# HSTS (optional)
Header always set Strict-Transport-Security "max-age=63072000; includeSubdomains;"
# Prevent MIME based attacks
Header set X-Content-Type-Options "nosniff"

ErrorLog /var/log/apache2/s3.your-domain.tld-error.log
CustomLog /var/log/apache2/s3.your-domain.tld-access.log combined
restart Apache2 again:
sudo systemctl restart apache2
After the restart we are finished and can move on to the next step.
Step 2: Deploy minio
To make our data persistent, we first create two folders in our file system, which we will mount to the minio container later:
sudo mkdir /s3data
sudo mkdir /miniocfg
Then we can start to deploy the container:
sudo docker run -d -p 32768:9000 --name minio --restart=always -e "MINIO_ACCESS_KEY=$YOUR_KEY" -e "MINIO_SECRET_KEY=$YOUR_SECRET" -v /s3data:/data -v /miniocfg:/root/.minio minio/minio server /data
Define the variables as followed:
$YOUR_KEY = Access key of minimum 3 characters in length.
$MINIO_SECRET_KEY = Secret key of minimum 8 characters in length.
Step 3: Create Bucket
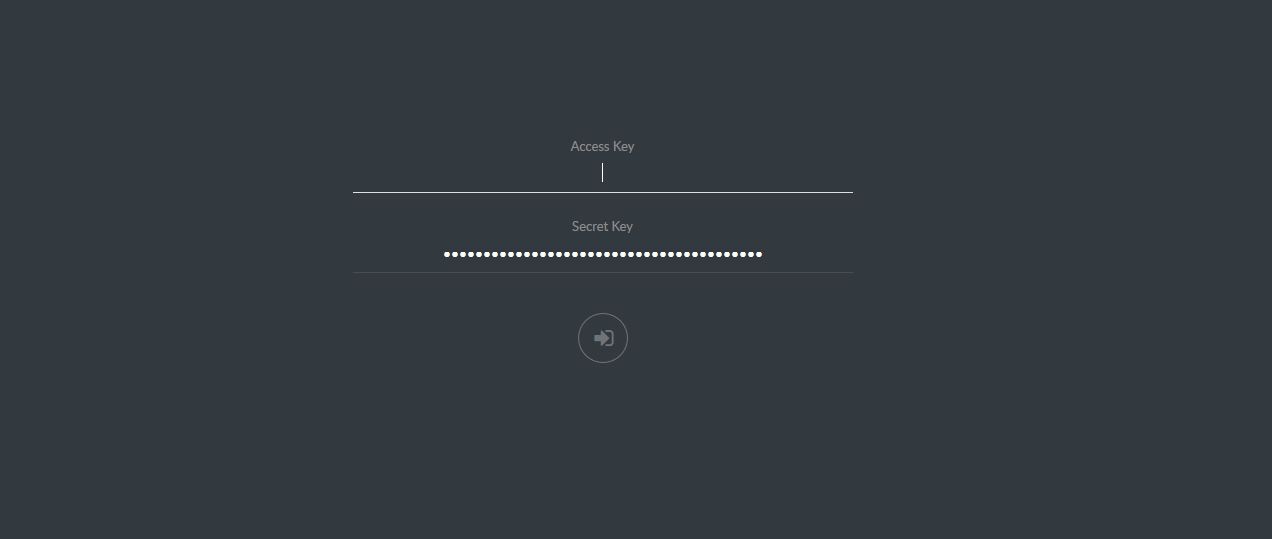
In this step we create our first bucket, to do this we call our domain in a browser of our choice and log in with the credentials:
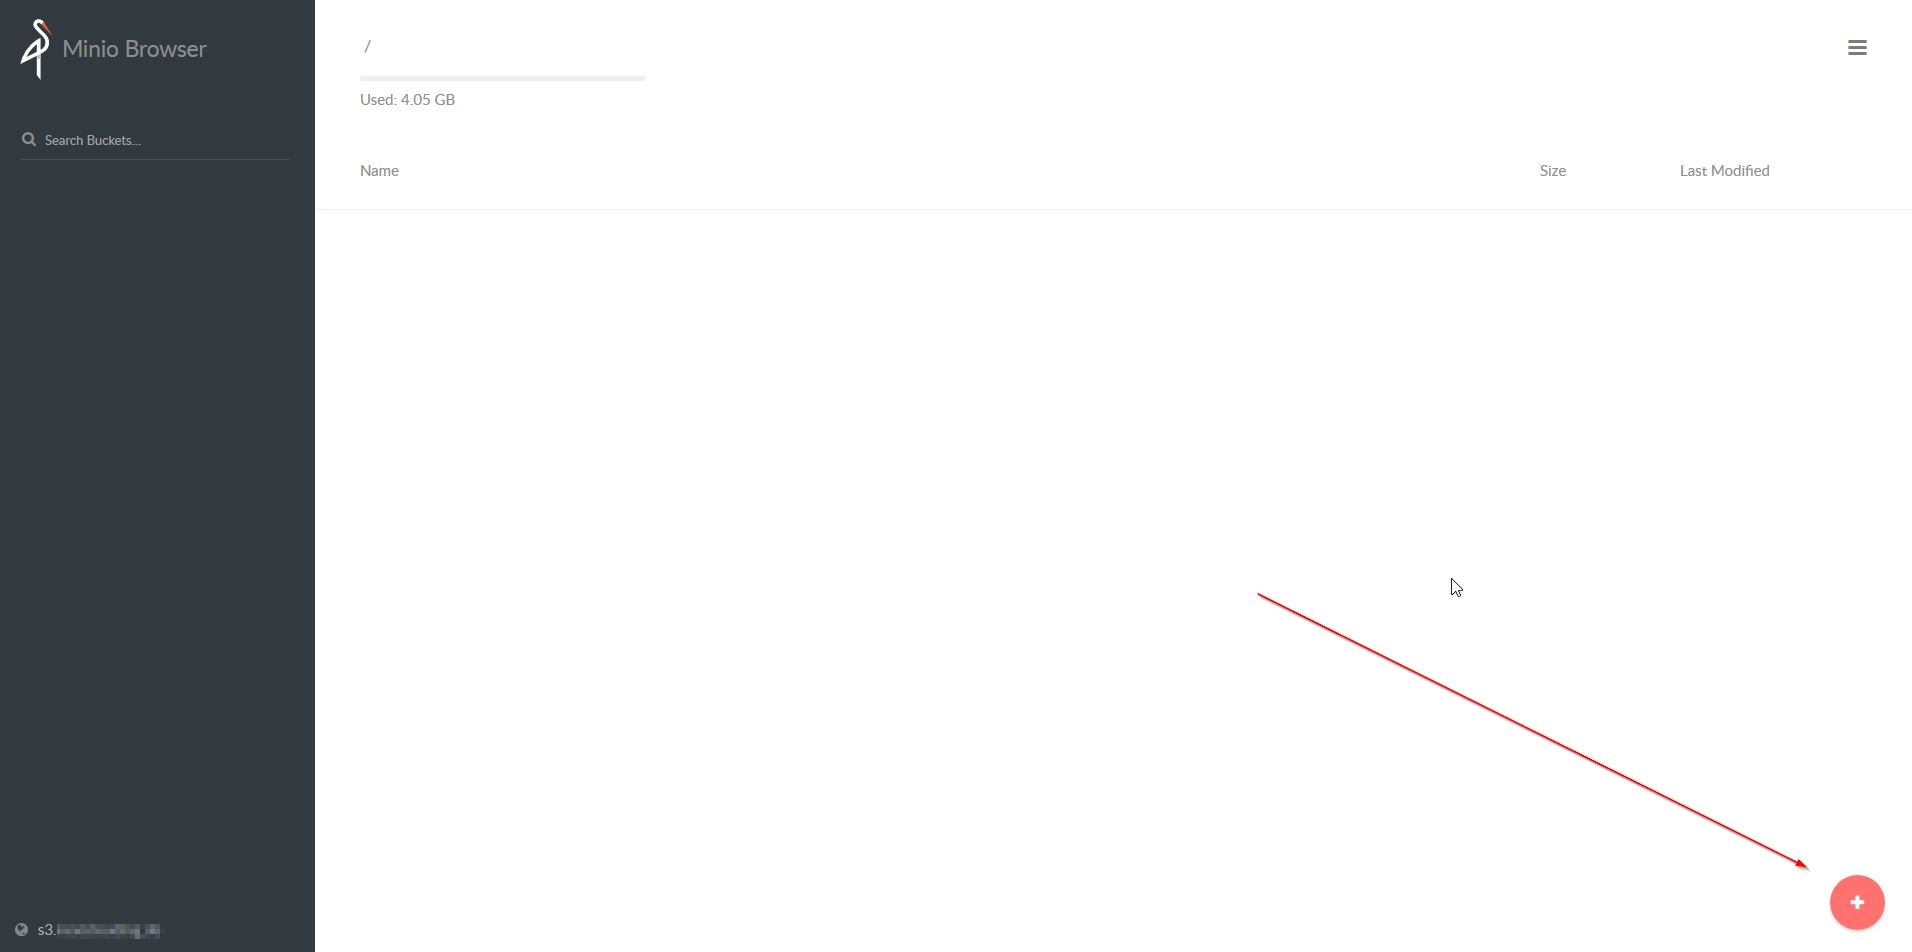
After logging in, we can (+) create buckets in the lower right and use them in appropriate applications, e.g. in Plesk as a backup target or as External Storage for Nextcloud (read this HINT before).
Finished… have fun trying it out 😉
Feedback and sharing as always desired …
