Today, we want to deploy our own S3 Object Storage with minio behind an Apache2 https proxy via Docker. This howto works with both Ubuntu 16.04 and 18.04.
Requirements:
– one Ubuntu VPS
– LAMP stack installed
– Apache2 Reverse Proxy Modules activated
– Docker installed
– certbot installed
– DNS-A record for Apache2-vHost
If requirements are missing please use this:
LAMP stack:
sudo apt-get install lamp-server^
Apache2 reverse proxy module:
sudo a2enmod proxy
sudo a2enmod proxy_http
sudo a2enmod proxy_ajp
sudo a2enmod rewrite
sudo a2enmod deflate
sudo a2enmod headers
sudo a2enmod proxy_balancer
sudo a2enmod proxy_connect
sudo a2enmod proxy_html
Docker:
Version from official Ubuntu Repository:
sudo apt-get install docker.io
sudo systemctl start docker
sudo systemctl enable docker
or directly from Docker:
sudo curl -sSL https://get.docker.com/ | CHANNEL=stable sh
sudo systemctl enable docker.service
sudo systemctl start docker.service
Certbot:
sudo apt-get update
sudo apt-get install software-properties-common
sudo add-apt-repository ppa:certbot/certbot
sudo apt-get update
sudo apt-get install python-certbot-apache
when finished, we can continue with Step 1.
Step 1: Create Apache2 vHost
As a first step we create the Apache-vHost as reverse proxy:
sudo nano /etc/apache2/sites-available/005-minio.conf
add the following content:
<VirtualHost *:80>

ServerName s3.your-domain.tld

</VirtualHost>
save file, activate site and restart Apache2:
sudo a2ensite 005-minio.conf
sudo systemctl restart apache2
we can now generate a certificate via certbot:
sudo certbot --apache
select the corresponding vHost and select „2“ for „redirect“ at the end.
Then we edit the created configuration again:
sudo nano /etc/apache2/sites-available/005-minio-le-ssl.conf
and add the following content between the VirtualHost block:
# Proxy to minio
ProxyPreserveHost On
ProxyPass / http://0.0.0.0:32768/
ProxyPassReverse / http://0.0.0.0:32768/
RequestHeader set X-Forwarded-Proto "https"
ProxyVia Block

<Proxy *>
Require all granted
</Proxy>

# SSL Configuration - uses strong cipher list - these might need to be downgraded if you need to support older browsers/devices
SSLEngine on
SSLCipherSuite EECDH+AESGCM:EDH+AESGCM:AES256+EECDH:AES256+EDH
SSLProtocol All -SSLv2 -SSLv3 -TLSv1 -TLSv1.1
SSLHonorCipherOrder On

# HSTS (optional)
Header always set Strict-Transport-Security "max-age=63072000; includeSubdomains;"
# Prevent MIME based attacks
Header set X-Content-Type-Options "nosniff"

ErrorLog /var/log/apache2/s3.your-domain.tld-error.log
CustomLog /var/log/apache2/s3.your-domain.tld-access.log combined
restart Apache2 again:
sudo systemctl restart apache2
After the restart we are finished and can move on to the next step.
Step 2: Deploy minio
To make our data persistent, we first create two folders in our file system, which we will mount to the minio container later:
sudo mkdir /s3data
sudo mkdir /miniocfg
Then we can start to deploy the container:
sudo docker run -d -p 32768:9000 --name minio --restart=always -e "MINIO_ACCESS_KEY=$YOUR_KEY" -e "MINIO_SECRET_KEY=$YOUR_SECRET" -v /s3data:/data -v /miniocfg:/root/.minio minio/minio server /data
Define the variables as followed:
$YOUR_KEY = Access key of minimum 3 characters in length.
$MINIO_SECRET_KEY = Secret key of minimum 8 characters in length.
Step 3: Create Bucket
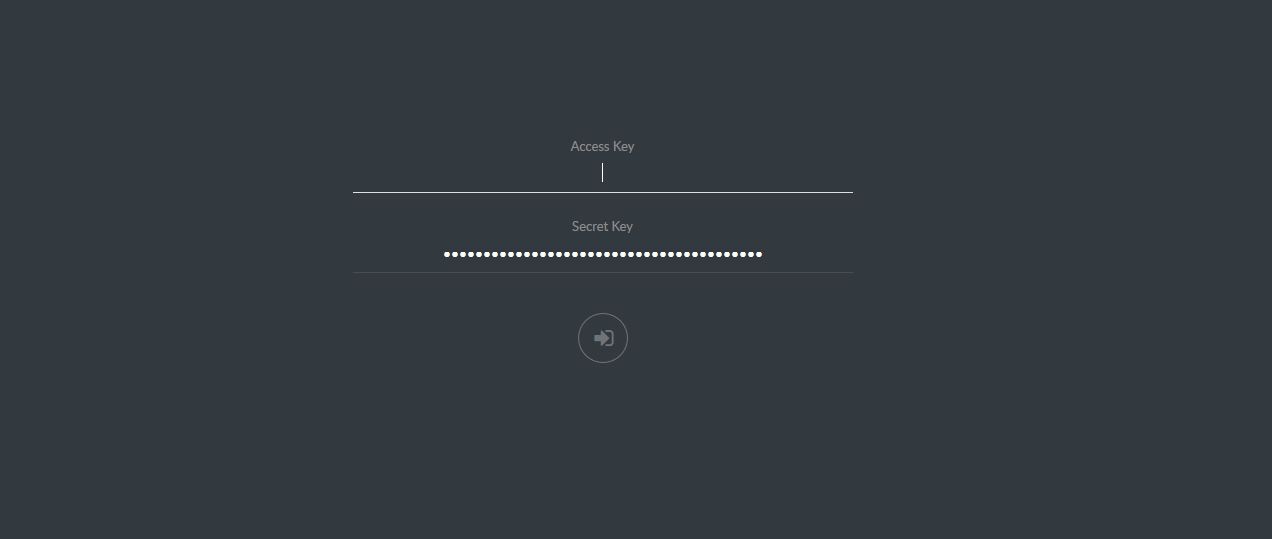
In this step we create our first bucket, to do this we call our domain in a browser of our choice and log in with the credentials:
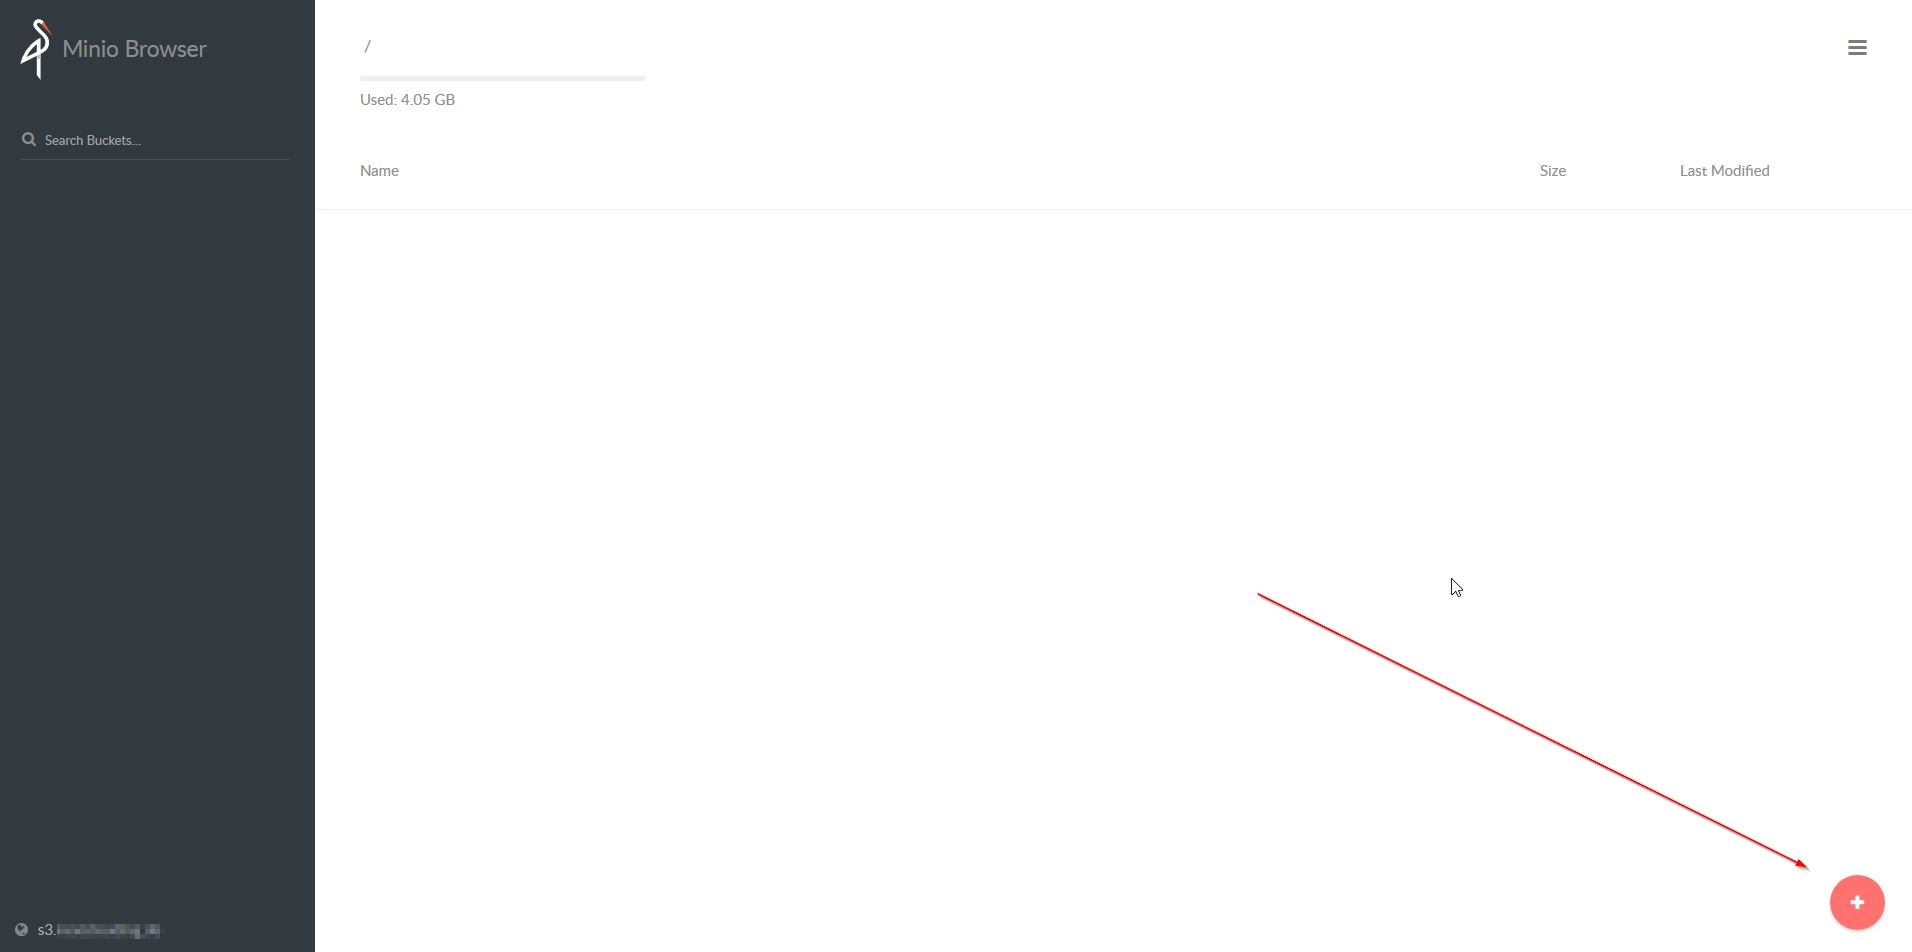
After logging in, we can (+) create buckets in the lower right and use them in appropriate applications, e.g. in Plesk as a backup target or as External Storage for Nextcloud (read this HINT before).
Finished… have fun trying it out 😉
Feedback and sharing as always desired …